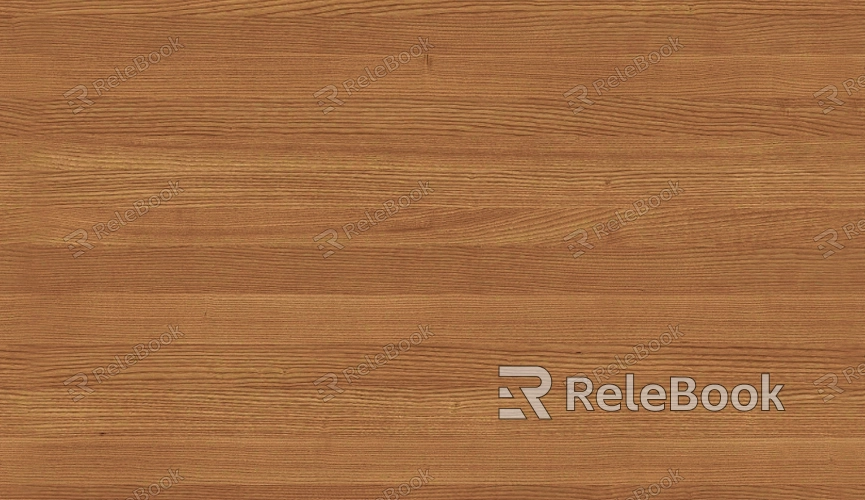
How to Create Wood Texture in After Effects?
Whether it's for a rustic feel in a design or as part of a stylized animation, understanding how to create a realistic wood texture in After Effects can open up new creative possibilities. After Effects, a powerful tool commonly used for compositing, visual effects, and motion graphics, offers a variety of techniques to simulate natural materials. In this article, we’ll explore how to use After Effects to create a wood texture from scratch, focusing on both its practical applications and the artistic methods that can make it appear authentic and engaging.

Getting Started with After Effects
Before you begin creating your wood texture, it's important to set up your project correctly. First, open After Effects and create a new composition with the desired dimensions for your texture. If you're making a texture for a specific project, ensure the resolution and frame rate match the final output requirements. After Effects allows you to work in high resolution, so you can focus on detail, but it's best to keep things manageable until you have the texture looking as you desire.
Once your composition is set, it's time to think about how you'll approach creating the wood texture. For a realistic look, you’ll need to simulate the organic features of wood, such as the grain, color variations, and imperfections that make the material feel lifelike. To achieve this, you can use a combination of procedural textures, effects, and layers.
Using Fractal Noise to Simulate Wood Grain
One of the most effective methods for creating a wood texture in After Effects is using the Fractal Noise effect. This effect generates random patterns that can be tweaked to resemble the grain of wood. Begin by applying the Fractal Noise effect to a solid layer.
Once applied, adjust the contrast and brightness properties to modify the intensity of the pattern. To simulate the grain, change the Turbulence setting in the Fractal Noise effect and increase the Complexity to add more detailed patterns. You can also experiment with different noise types, such as Soft Linear or Turbulent Smoothing, to vary the look of the grain.
For a more realistic wood texture, tweak the Transform settings in the Fractal Noise effect. By adjusting the scale, you can make the texture appear more like wood grain, stretching it horizontally and vertically. You can also animate the noise over time to create dynamic textures, adding depth and movement to your scene.

Adding Color and Wood Tone
Once you’ve established the grain pattern, it’s time to give the texture its characteristic color and warmth. Wood typically features brown tones, but depending on the type of wood you're emulating, you can use various shades of brown, tan, or even red and yellow hues.
A good way to add color is by using an adjustment layer with a tint effect. Apply the tint effect to the layer, and then choose the desired color. You can modify the colors to match a specific type of wood, such as a light oak or a darker walnut, by adjusting the Map Black To and Map White To properties.
To further refine the color, you can apply a curve effect to adjust the overall contrast and color balance of the texture. This allows for finer control, enabling you to highlight certain areas of the texture and darken others to replicate the natural variation found in real wood surfaces.
Adding Wood Texture Details
While the basic wood grain is important, adding small details can significantly increase the realism of your texture. These details include knots, grooves, and imperfections commonly found in wood. To simulate these, you can use the Turbulent Displace effect. This effect warps the texture in subtle ways, creating irregularities that resemble natural imperfections in wood.
You can also create a custom knot texture by using the Ellipse Tool to draw circular shapes and applying effects like Roughen Edges or CC Scatterize to give the shapes more natural variation. Position these shapes over your wood texture and adjust their opacity and blending modes to make them blend seamlessly with the surrounding grain.
Another useful technique is adding a Bevel Alpha effect, which will help add depth to the texture, creating the appearance of raised or recessed areas. This adds an extra layer of realism, making the wood feel more tangible and three-dimensional.
Creating the Illusion of Depth
Wood is not a flat material; it has depth, so it's important to give your texture some dimensionality. After you’ve created the basic grain and color patterns, you can add subtle shadows and highlights to give the appearance of depth.
Use a light layer to create this effect. By adding a directional light and adjusting its position and intensity, you can cast shadows that enhance the 3D appearance of the wood. Pair this with ambient occlusion effects, which simulate how light behaves when objects are close to each other, creating natural-looking dark areas in the corners of the wood texture.
Furthermore, you can use the Displacement Map effect to add small variations in the surface of the texture, making it look as though there are small grooves or shifts in the wood. This will add an extra layer of realism, mimicking the natural inconsistencies found in real wood surfaces.
Fine-Tuning and Exporting Your Wood Texture
Once your texture looks realistic, it's time to fine-tune it for use in your project. Pay attention to the scale and alignment of the wood grain. You may need to adjust the dimensions or apply subtle rotations to avoid creating a repetitive pattern that is too obvious.
If you plan to use this texture in other compositions or as part of a 3D project, consider exporting it as an image or video texture. For image export, use the Render Queue to export your composition as a high-quality PNG or TIFF file. For video textures, export as a video file with a transparent background, ensuring it maintains its quality and detail when applied to 3D objects or other scenes.
Advanced Techniques for Realistic Wood Textures
If you want to take your wood texture creation to the next level, consider using additional After Effects plugins that can help add realism. Red Giant Universe or Video Copilot’s Element 3D are powerful tools that allow you to add advanced textures, reflections, and lighting effects to your projects. These can help make your wood texture stand out even more, especially in complex scenes.
Additionally, combining After Effects with other software like Photoshop or Cinema 4D can help you create highly detailed, photorealistic wood textures that are perfect for use in professional projects.
Creating a realistic wood texture in After Effects involves blending various techniques, from using fractal noise for the grain to adding subtle lighting and depth to your design. With these methods, you can produce high-quality wood textures that are perfect for a wide range of creative applications. Remember to experiment with different settings and effects to find the combination that best suits your project. If you're looking for high-quality 3D models and textures to complement your creations, don't forget to visit the Relebook website for a wide selection of downloadable resources.
FAQ
Can I create wood textures without using any third-party plugins?
Yes, After Effects has powerful native tools like Fractal Noise, Turbulent Displace, and Tint that allow you to create highly realistic wood textures without needing external plugins. The key is experimenting with these effects to achieve the desired look.
How can I animate the wood texture in After Effects?
To animate your wood texture, use keyframes to adjust the fractal noise properties over time. You can animate the Turbulence or Transform settings to simulate natural movement, such as the texture shifting or changing as if a new piece of wood is being revealed.
What is the best resolution for creating wood textures in After Effects?
For high-quality textures, you should use a resolution that matches your final output. For most animation projects, a resolution of 1920x1080 (Full HD) works well, but for 4K projects or detailed textures, you may want to work in 4K resolution.
Can I use the wood texture in 3D applications?
Yes, once you've created the texture in After Effects, you can export it as an image sequence or a video file with transparency, which can be used as a texture in 3D applications like Cinema 4D or Blender.

